Getting Started with FXCanvas
This page is an introduction to FXCanvas. It shows you how to make real-time visual effects for live performances, DJ sets, and other creative projects.
What is FXCanvas?
FXCanvas is a real-time visual effects application for live performance. It makes beat-synchronized visuals. You can send these visuals to displays, projectors, or streaming software with NDI.
Key capabilities:
- Shader-based effects — GPU-accelerated visual sources and effects
- Beat synchronization — Visuals sync to music with tap tempo, Pioneer DJ equipment, or Ableton Link
- Color palettes — Color schemes that animate with the beat
- Multiple outputs — FXCanvas sends visuals with NDI, Spout, or Syphon, or direct to displays
- DMX output — FXCanvas drives real lighting fixtures over Art-Net or sACN
- Cue system — You can save and recall complete visual states in a performance
- Flexible layout — You can map your visuals to any screen arrangement
Quick Start
Step 1: Select a Source
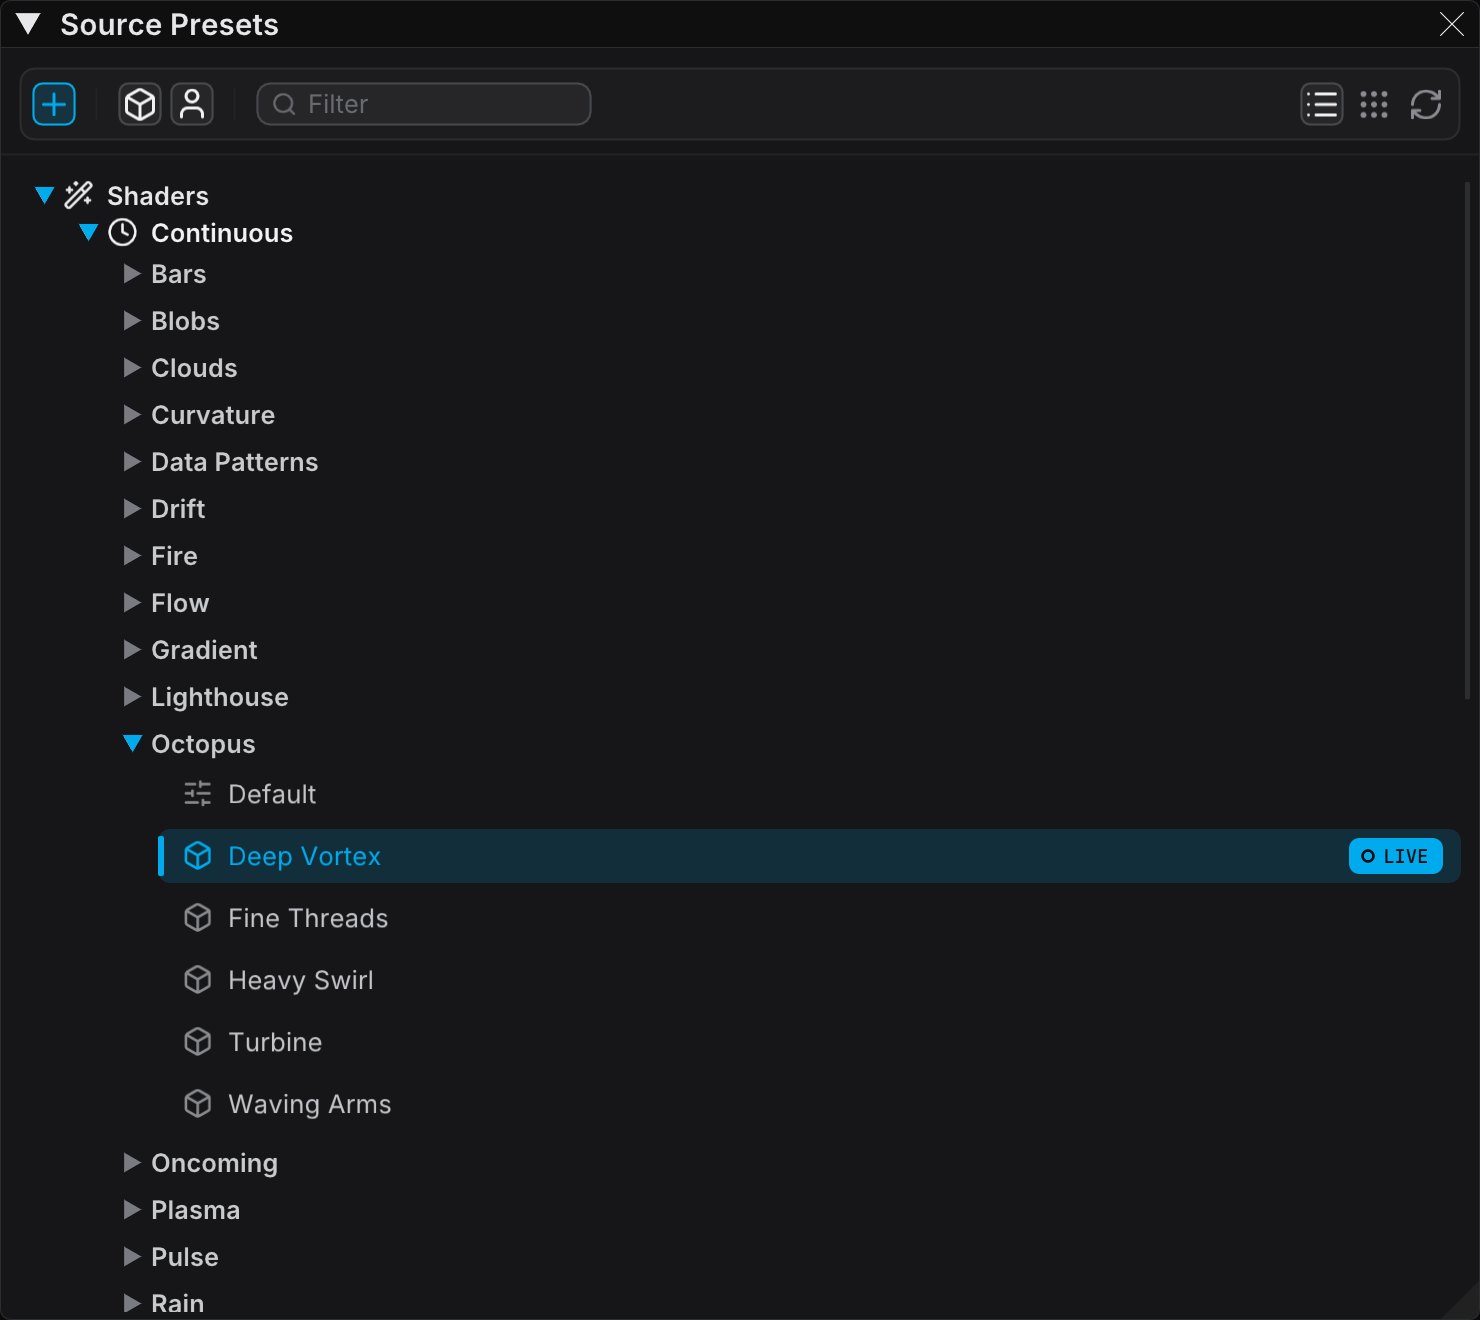
A source is the start point for your visuals. FXCanvas includes built-in shader sources such as Plasma, Sweep, Spiral, Wave, and Pulse.
- Open the Source Presets panel
- Expand a source type. Double-click a preset, or double-click its Default row
- Adjust the parameters in the Source Parameters panel
- Watch the Output Preview panel to see your changes in real time
Step 2: Set Your Tempo
For beat-synchronized effects, configure BPM sync in the Tempo section of the Live panel:
- Click the Internal chip in the Source row. Then tap the tempo
- Connect to Pioneer DJ equipment for automatic sync
- Join an Ableton Link session with other applications
For detailed instructions, read the BPM Sync Guide.
Step 3: Add Effects
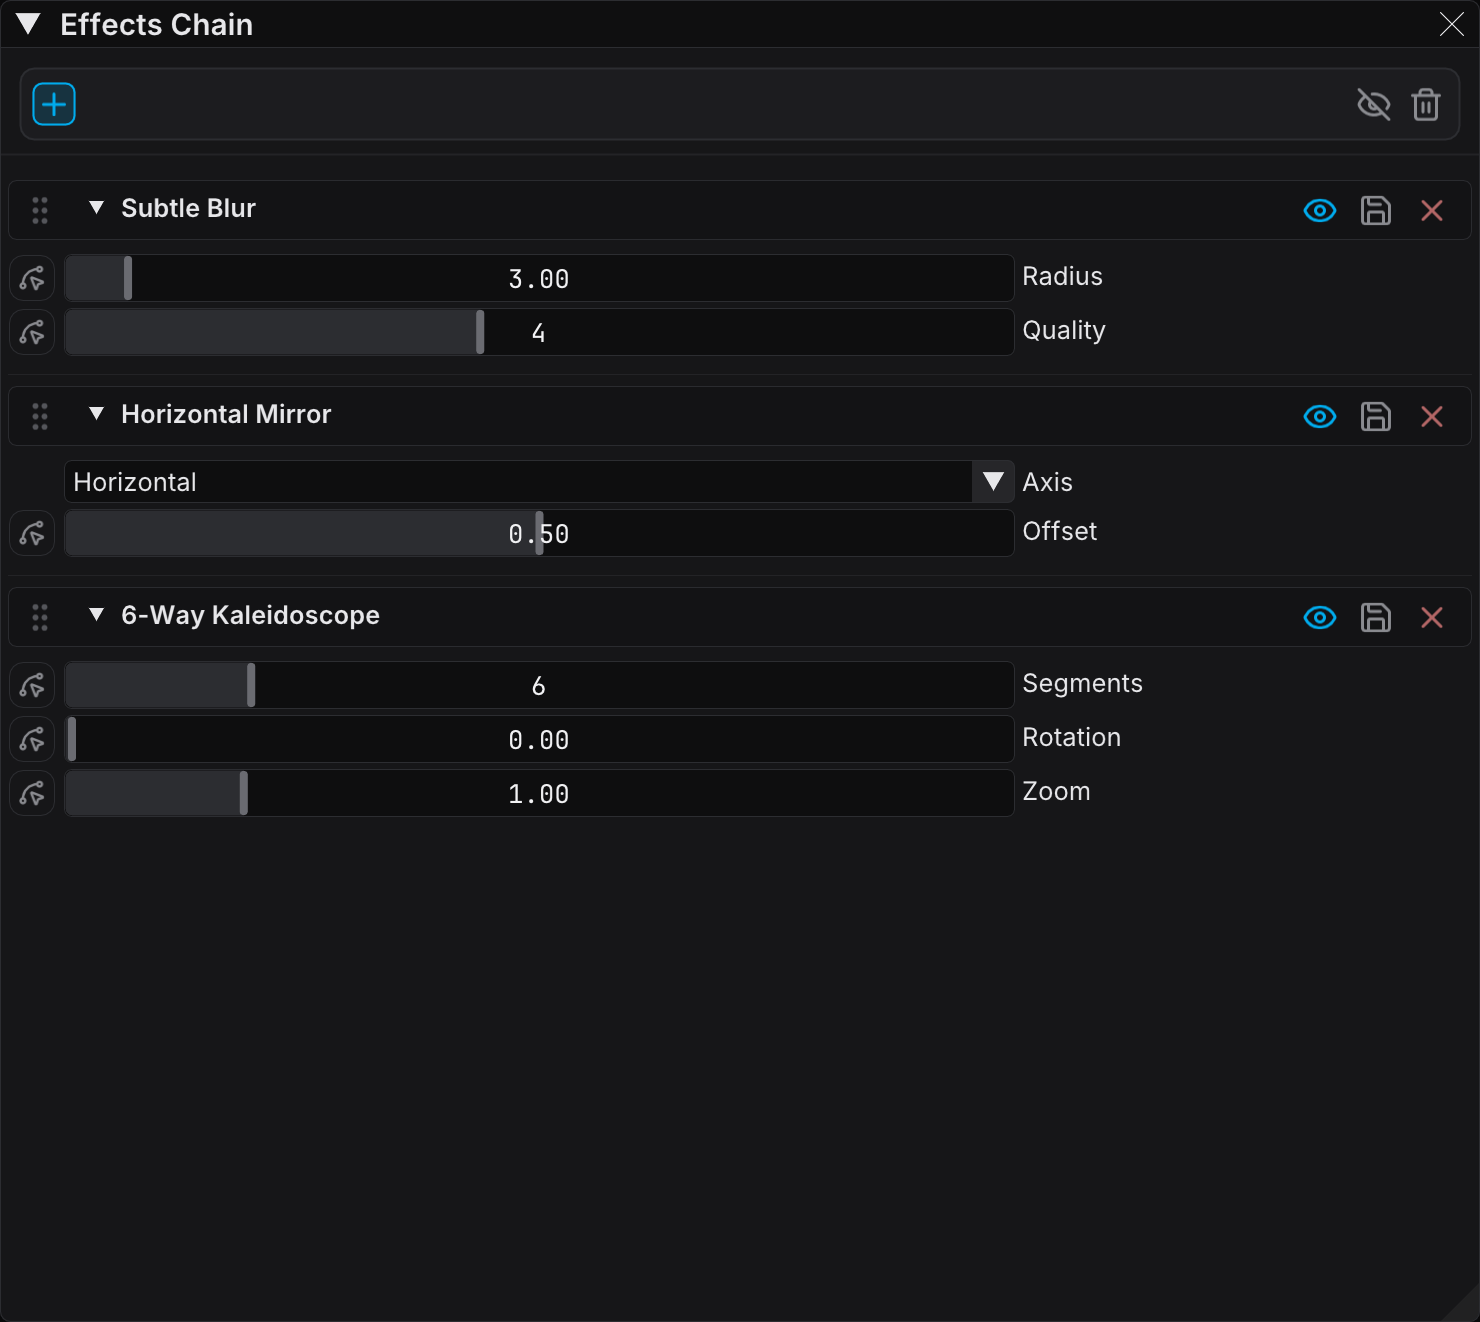
Add effects on top of your source in the Effects Chain panel:
- Mirror — Makes symmetrical reflections
- Kaleidoscope — Multiplies and rotates the image
- Blur — Adds softness and glow
Step 4: Configure Output
Configure your output destination:
- Enable NDI, Spout, or Display output in Edit → Settings → Output
- Set the resolution in Output Settings
- Use the Output Mapping panel to match your display arrangement
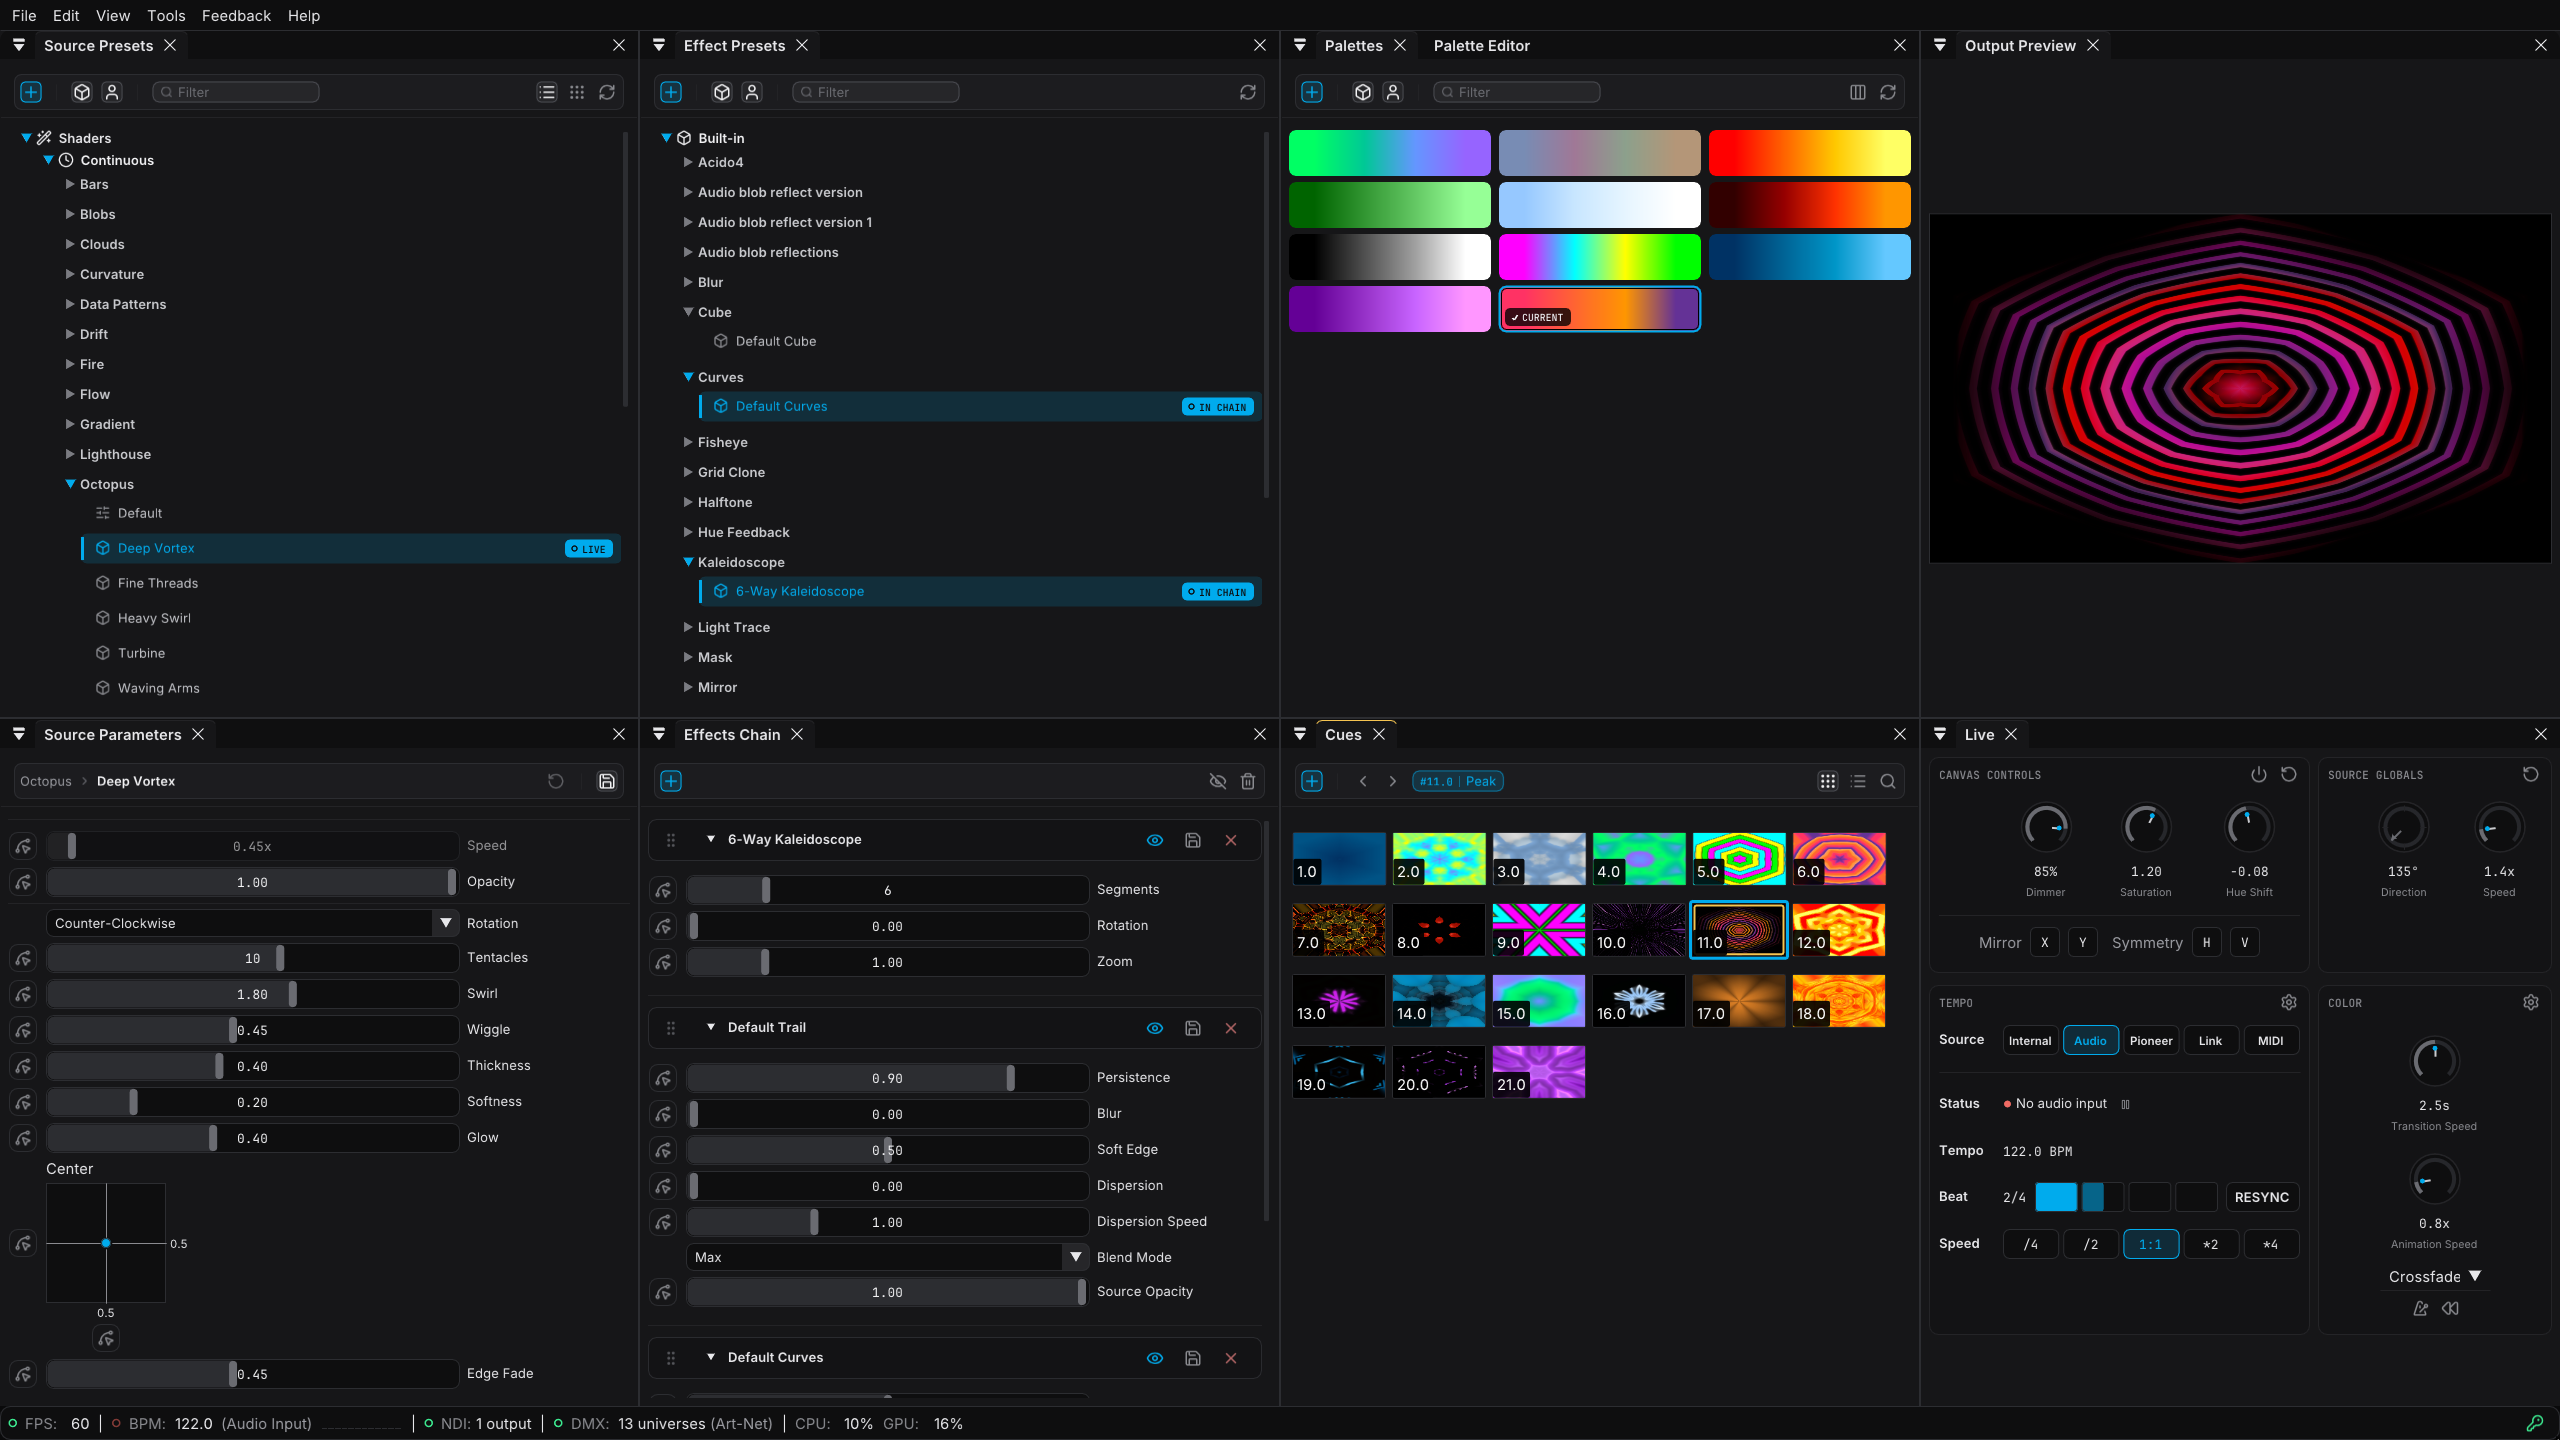
Main Interface Overview
The FXCanvas interface has panels. You can arrange these panels for your workflow:
| Panel | Purpose |
|---|---|
| Source Presets | Browse and select visual sources |
| Source Parameters | Adjust the parameters of the active source |
| Effects Chain | Add and configure the effects for your source |
| Palettes | Select and manage color palettes |
| Live | Performance controls: canvas adjustments, tempo sync, and color behavior |
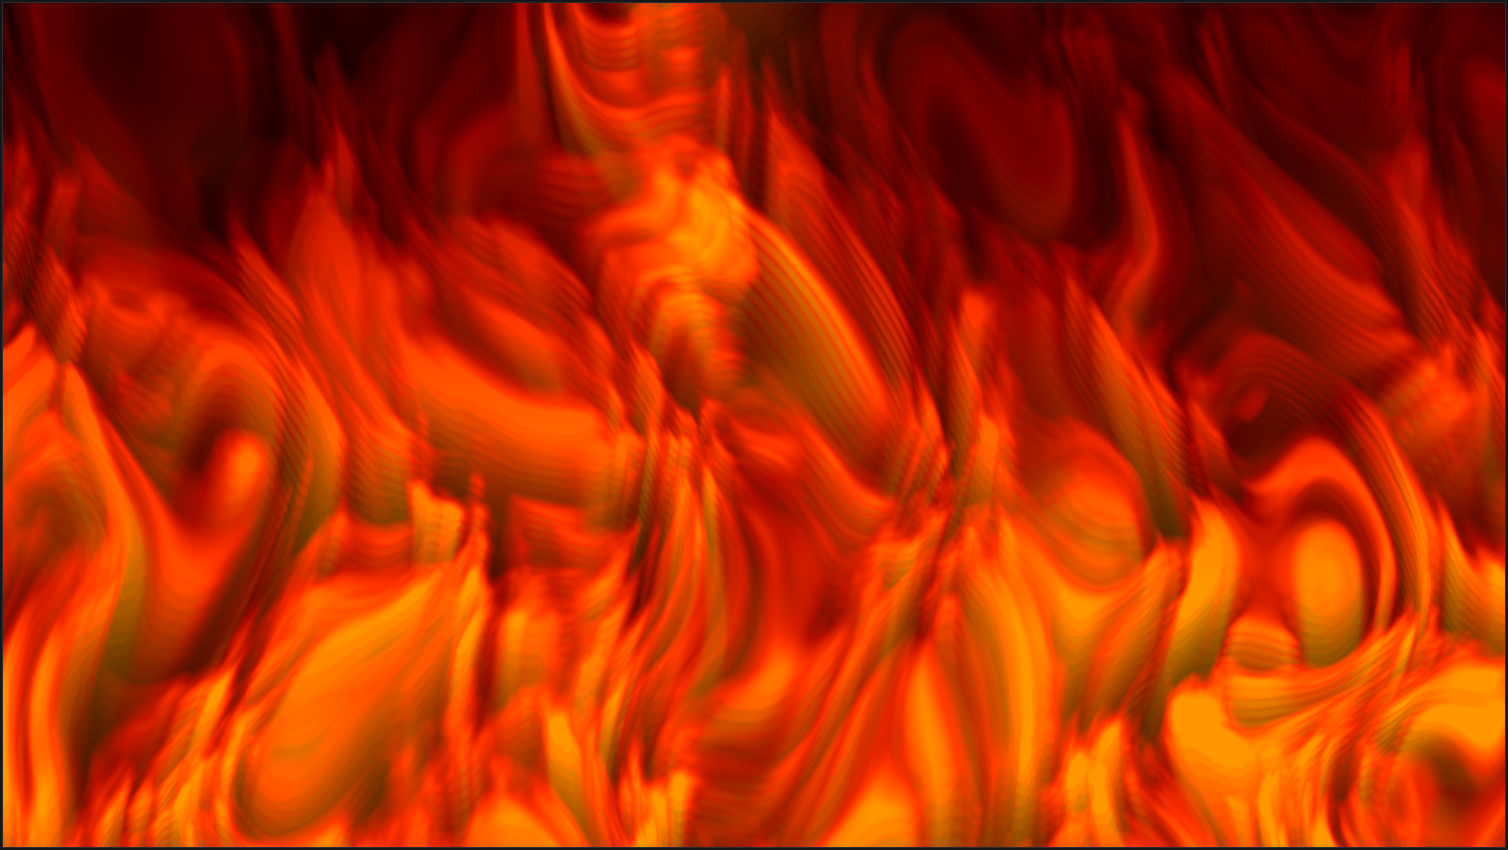
| Output Preview | See what FXCanvas sends to your outputs |
| Cues | Save and recall performance states |
Feature Guides
Learn more about specific features:
- BPM Sync — Synchronize visuals with the tempo of the music
- Sources — How to use shader-based visual sources
- Video Inputs — Live video from webcams, NDI, Spout/Syphon, and DeckLink
- Video Playback — How to play video and image files from your drive
- Effects — How to use the effects chain to transform your visuals
- Palettes — How to make and edit color palettes
- Outputs — How to configure NDI output and multi-display setups
- DMX Output & Mapping — How to drive real lighting fixtures from your visuals
- DMX Input — How to control palettes from a lighting console
- Shows and Cues — How to organize performances with shows and cues
Reference
- Keyboard Shortcuts — Keyboard commands that make your workflow faster
- UI Icons — Icon reference for the interface
Tips for New Users
- Start simple — One source with good tempo sync often looks better than many layered effects
- Save presets — When you find a look that you like, save it as a preset for quick recall
- Learn the shortcuts — Keyboard shortcuts make live performance smoother
- Test first — Make sure that your setup works before a live show
Getting Help
If something does not work, do these steps:
- Read the feature guides for detailed information
- Open the Settings window to see the available settings
- Hover over an interface element to see its tooltip
Next Steps
Select a guide for the topic that you want to learn:
| Goal | Guide |
|---|---|
| Sync to music | BPM Sync Guide |
| Make visuals | Sources and Effects |
| Change the colors | Palettes Guide |
| Perform live | Shows and Cues |
| Make your workflow faster | Keyboard Shortcuts |