Video Inputs
FXCanvas can use external video feeds as visual sources, together with its built-in shader-based pattern generators. You can connect a webcam or receive an NDI stream. You can also capture from a Blackmagic DeckLink card, or receive shared textures with Spout (Windows) or Syphon (macOS).
What Are Video Inputs?
With a video input you can bring live or external video into the render pipeline of FXCanvas. After you activate a video input, it replaces the active shader source. The input then feeds into your effects chain and your output mappings, like any built-in source.
Key concepts:
- Input providers — Each video technology is a separate provider, for example webcam or NDI
- Device discovery — FXCanvas discovers the available devices on your system and network automatically
- Single active input — Only one source drives the output at a time, so a live input replaces the current source
- Effects compatible — Video inputs pass through the same effects chain as shader sources
Supported Input Types
| Type | Platform | Description |
|---|---|---|
| Webcam | Windows, macOS | USB cameras and built-in cameras |
| NDI | Windows, macOS | Network video streams from any NDI source |
| Spout | Windows only | GPU texture sharing from other Windows applications |
| Syphon | macOS only | GPU texture sharing from other macOS applications |
| DeckLink | Windows, macOS | Blackmagic Design capture cards and devices |
Webcam
This provider captures video from USB cameras and built-in webcams. It uses hardware-accelerated decoding.
Requirements:
- A connected webcam or capture device
Features:
- Automatic device discovery
- MJPEG support for better performance with high-resolution cameras
- Standard resolution and frame rate settings
NDI (Network Device Interface)
This provider receives video streams over your local network. The source can be other software, a hardware encoder, or an NDI camera.
Requirements:
- The NDI runtime on your computer
- The source and FXCanvas are on the same network
Features:
- Automatic discovery of the NDI sources on the network
- FXCanvas excludes its own NDI outputs to prevent feedback loops
- Low-latency network video reception
NDI works best over wired Gigabit Ethernet. If a wired connection is available, do not use WiFi.
Spout (Windows Only)
This provider receives GPU-shared textures from other applications on the same Windows computer. It is the fastest way to bring video from another application into FXCanvas.
Requirements:
- Windows operating system
- A Spout-compatible sending application, for example Resolume, TouchDesigner, or OBS with the Spout plugin
Features:
- Near-zero latency GPU-to-GPU texture transfer
- Minimal CPU overhead
- Automatic discovery of Spout senders
Syphon (macOS Only)
This provider is the macOS equivalent of Spout. It receives GPU-shared textures from other applications on the same Mac.
Requirements:
- macOS operating system
- A Syphon-compatible sending application
Features:
- GPU-to-GPU texture sharing
- Low latency and minimal overhead
- Automatic discovery of Syphon servers
Syphon input support arrives in a future release. Syphon output is available now.
DeckLink (Blackmagic Design) Pro
This provider captures video from Blackmagic Design capture cards and devices, for example DeckLink, Intensity, and UltraStudio. It works on Windows and macOS.
Requirements:
- The Blackmagic Desktop Video drivers on your computer
- A supported Blackmagic capture device
Features:
- Professional-grade video capture on Windows and macOS
- Support for HD and UHD modes (1080p, 1080i, 4K)
- Several frame rate settings (24, 25, 29.97, 30, 50, 59.94, 60 fps)
- Support for interlaced and progressive scan
- Automatic device discovery
Supported video modes include:
| Mode | Resolution | Frame Rate |
|---|---|---|
| 1080p24 | 1920×1080 | 24 fps |
| 1080p25 | 1920×1080 | 25 fps |
| 1080p30 | 1920×1080 | 30 fps |
| 1080p50 | 1920×1080 | 50 fps |
| 1080p60 | 1920×1080 | 60 fps |
| 1080i50 | 1920×1080 | 50 fps (interlaced) |
| 1080i60 | 1920×1080 | 60 fps (interlaced) |
| 2160p25 | 3840×2160 | 25 fps |
| 2160p30 | 3840×2160 | 30 fps |
| 2160p60 | 3840×2160 | 60 fps |
Connecting a Video Input
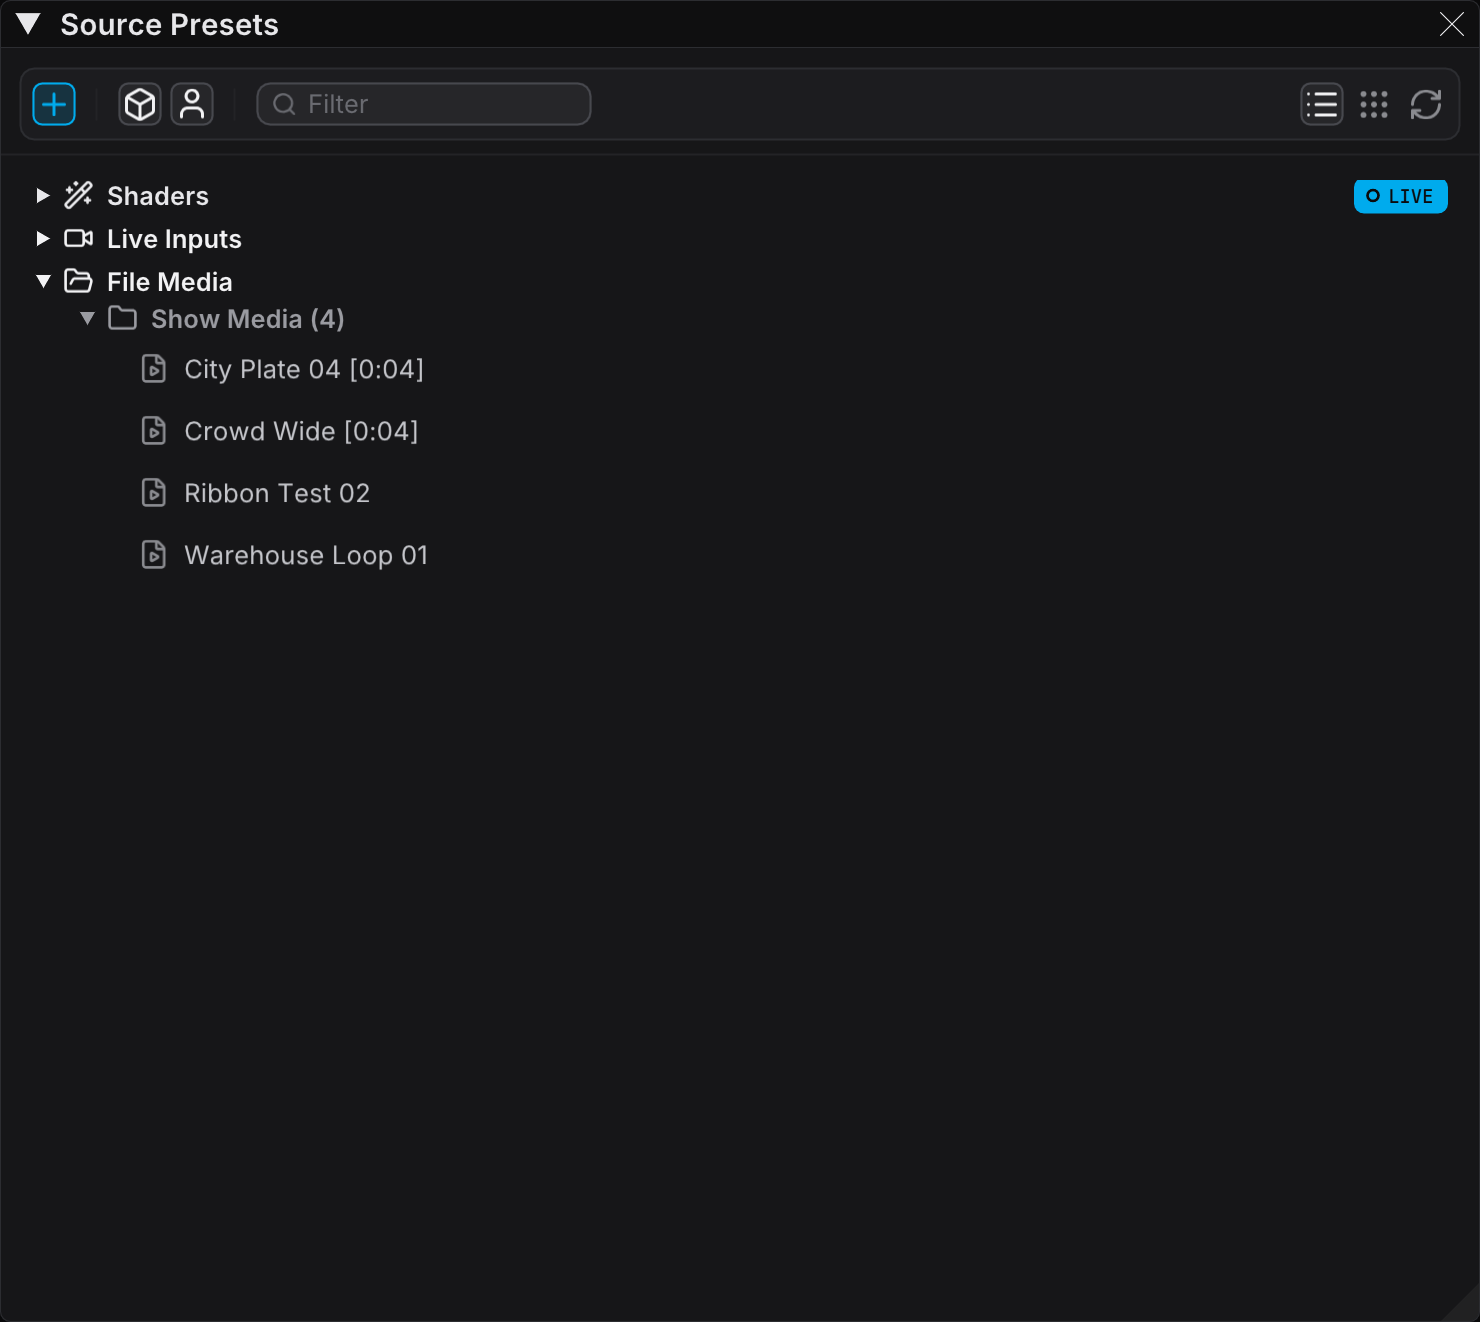
Video inputs live in the Source Presets panel, under the Live Inputs category. They are not a panel of their own. The category groups the devices by provider, so NDI sources sit under NDI and cameras sit under Webcam.
Device Discovery
FXCanvas discovers the available video input devices automatically when it starts. To refresh the device list:
- Open the Source Presets panel and expand Live Inputs
- Click the refresh button in the action bar of the panel
- New devices appear under their provider group
If no device answers, the category reads "No video inputs detected".
Activating a Device
- Expand Live Inputs and find the device
- Double-click the device, or right-click it and select Activate
- The video feed replaces the current source and flows through your effects chain
The active device carries the LIVE badge, and its branch stays open.
Returning to a Shader
There is no Disconnect button. Activate any other source instead: double-click a source preset, a Default row, or another live input. Only one source drives the output at a time, so the new source releases the device.
Video Settings
Open the video input settings from Edit → Settings → Video.
The Video page holds these settings:
- Hardware acceleration — Select GPU-accelerated video decoders
- Codec support — See the available codecs and the decoder status
- Decoder selection — Select one of the available hardware decoders on your system
Tips and Best Practices
- For sharing on one machine, use Spout or Syphon. Both are much faster than NDI for local transfers
- For DeckLink, match the input mode to the output format of your source. This prevents an extra conversion
- Close the video applications that you do not use, to free GPU resources
- Use descriptive NDI source names. Then you can identify them in FXCanvas
- Keep NDI traffic on a dedicated network or VLAN for the best performance
- FXCanvas excludes its own NDI outputs automatically to prevent feedback
- Install the latest Blackmagic Desktop Video drivers before you use DeckLink inputs
- Use the Blackmagic Desktop Video Setup utility to make sure that it detects your card
- If no device appears, read the Log Viewer for error messages
Troubleshooting
No Devices Found
- Webcam: Make sure that the camera is connected. Make sure that no other application uses it
- NDI: Make sure that both devices are on the same network. Make sure that the NDI runtime is installed
- Spout: Make sure that the sending application runs and shares a texture
- DeckLink: Make sure that the Blackmagic Desktop Video drivers are installed. Make sure that the device appears in Desktop Video Setup
Video Feed Is Black or Frozen
- Activate another source, then activate the device again
- Make sure that the source sends video
- For DeckLink, make sure that the video mode matches the source signal
- Read the Log Viewer (Tools → Log Viewer) for error messages
Poor Performance or Dropped Frames
- Reduce the render canvas resolution in the Output settings
- For NDI, change to a wired Ethernet connection
- Close other GPU-intensive applications
- Read the GPU usage in the task manager of your system
Related Topics
- Sources — The built-in shader-based visual pattern generators
- Video Playback — Play video and image files from your drive
- Outputs — Send visuals to NDI, Spout, Syphon, and Display destinations
- Effects — Post-processing for video inputs and shader sources
- BPM Sync — Sync parameters to the beat