Effects
Effects are post-processing filters that change the visual output of sources in FXCanvas. They send the source output through GPU shaders. Effects add blur, mirror symmetry, kaleidoscope patterns, and more.
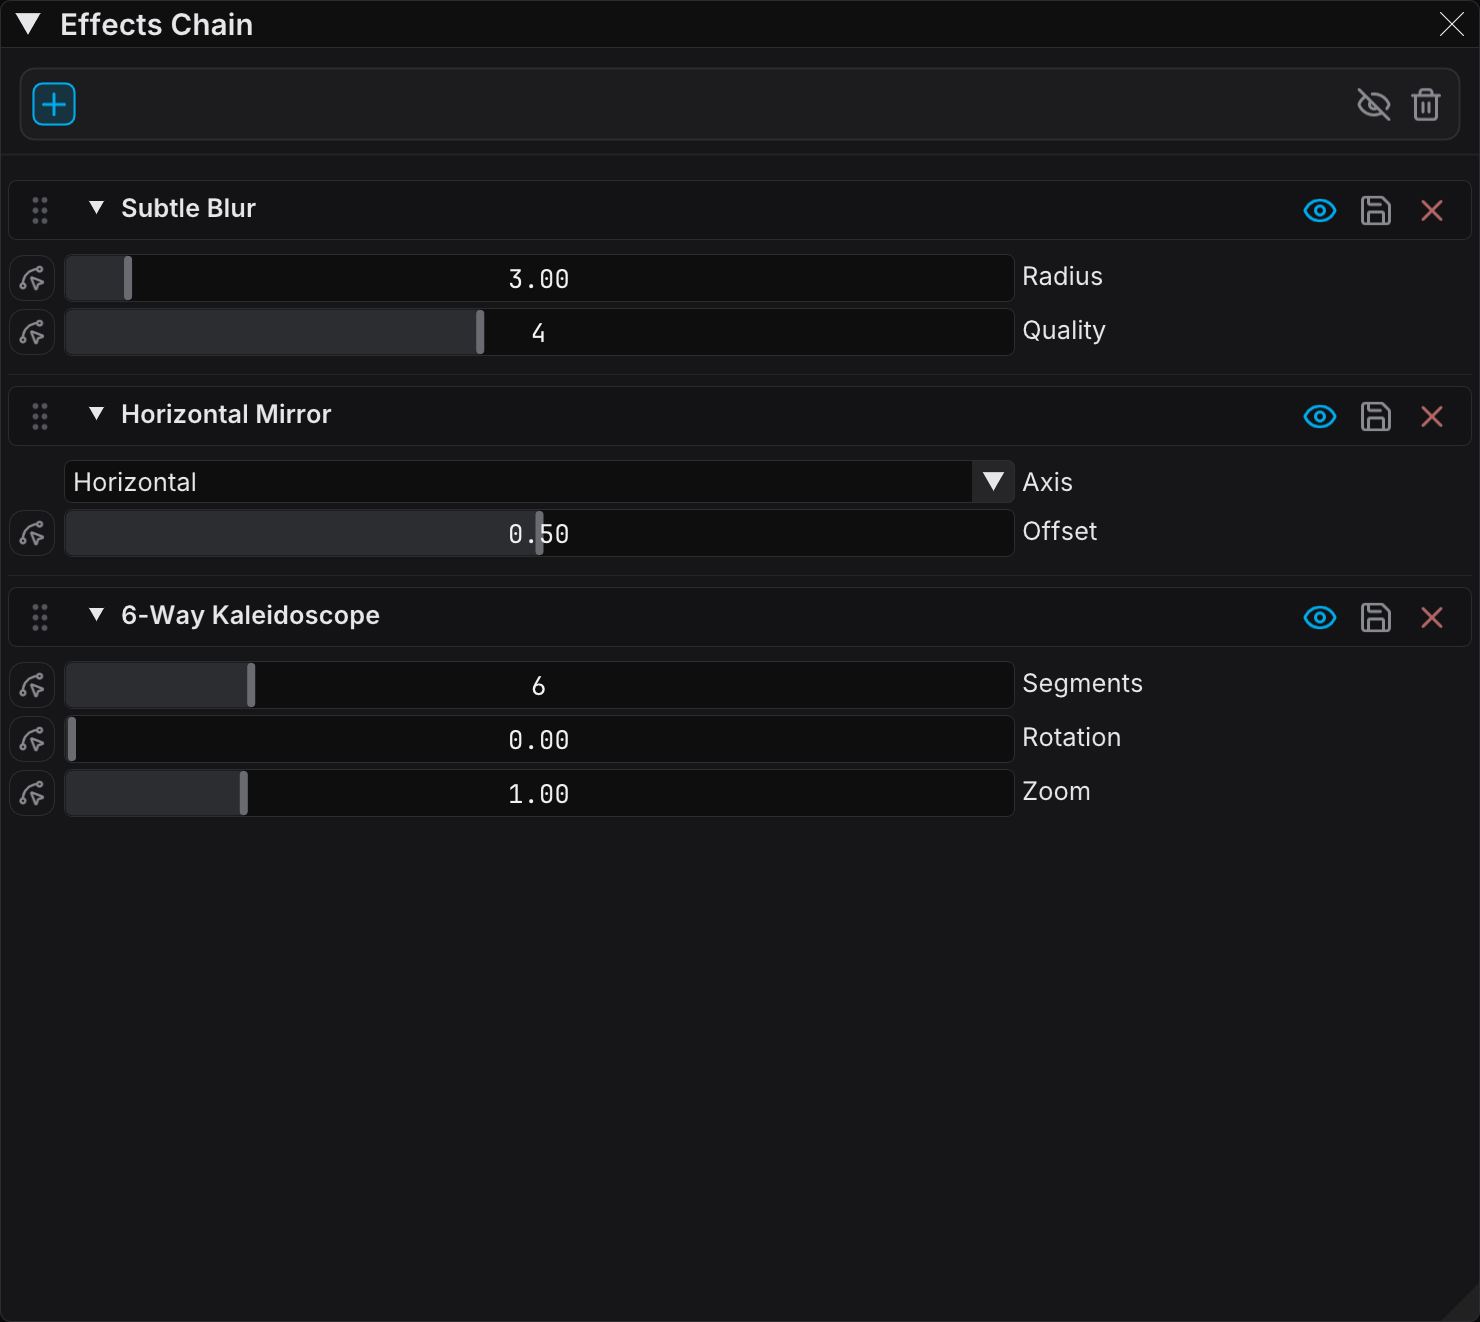
What are Effects?
Effects are real-time image processing filters. FXCanvas applies them after a source makes its visual pattern. Sources make the base content. Effects then change that content before it reaches your fixtures.
The visual pipeline has three stages:
- Source — This makes the base visual pattern
- Effects Chain — This applies zero or more effects in sequence
- Output — The final image, which goes to the fixture mapping
Each effect in the chain processes the output of the step before it. You can therefore stack several effects for a complex result. Each effect works on the result of the effects before it.
The Effects Chain Panel
The Effects Chain panel shows and manages every effect on the source output.
Finding the Panel
Look for the Effects Chain panel in your workspace. It is usually docked with the other panels. You can also open it from the Windows menu.
Panel Layout
The action bar at the top of the panel holds the controls for the whole chain:
| Control | Description |
|---|---|
| Add (plus icon) | Opens the menu that adds an effect to the chain |
| Bypass all (crossed-eye icon) | Mutes the whole chain. Read Bypassing the Whole Chain |
| Clear all (trash icon) | Removes every effect from the chain, after a confirmation |
While the chain is empty, Bypass all and Clear all are gray.
Below the action bar, each effect is a section that you can open. Each section shows:
| Element | Description |
|---|---|
| Drag handle (a grip of dots) | Drag this to reorder the effects |
| Eye toggle | Enable or bypass the effect. An open eye in accent means enabled, a closed eye means bypassed |
| Effect name | The preset name or the effect type |
| Save button (floppy disk icon) | Opens the save menu |
| Remove button (X icon) | Delete the effect from the chain |
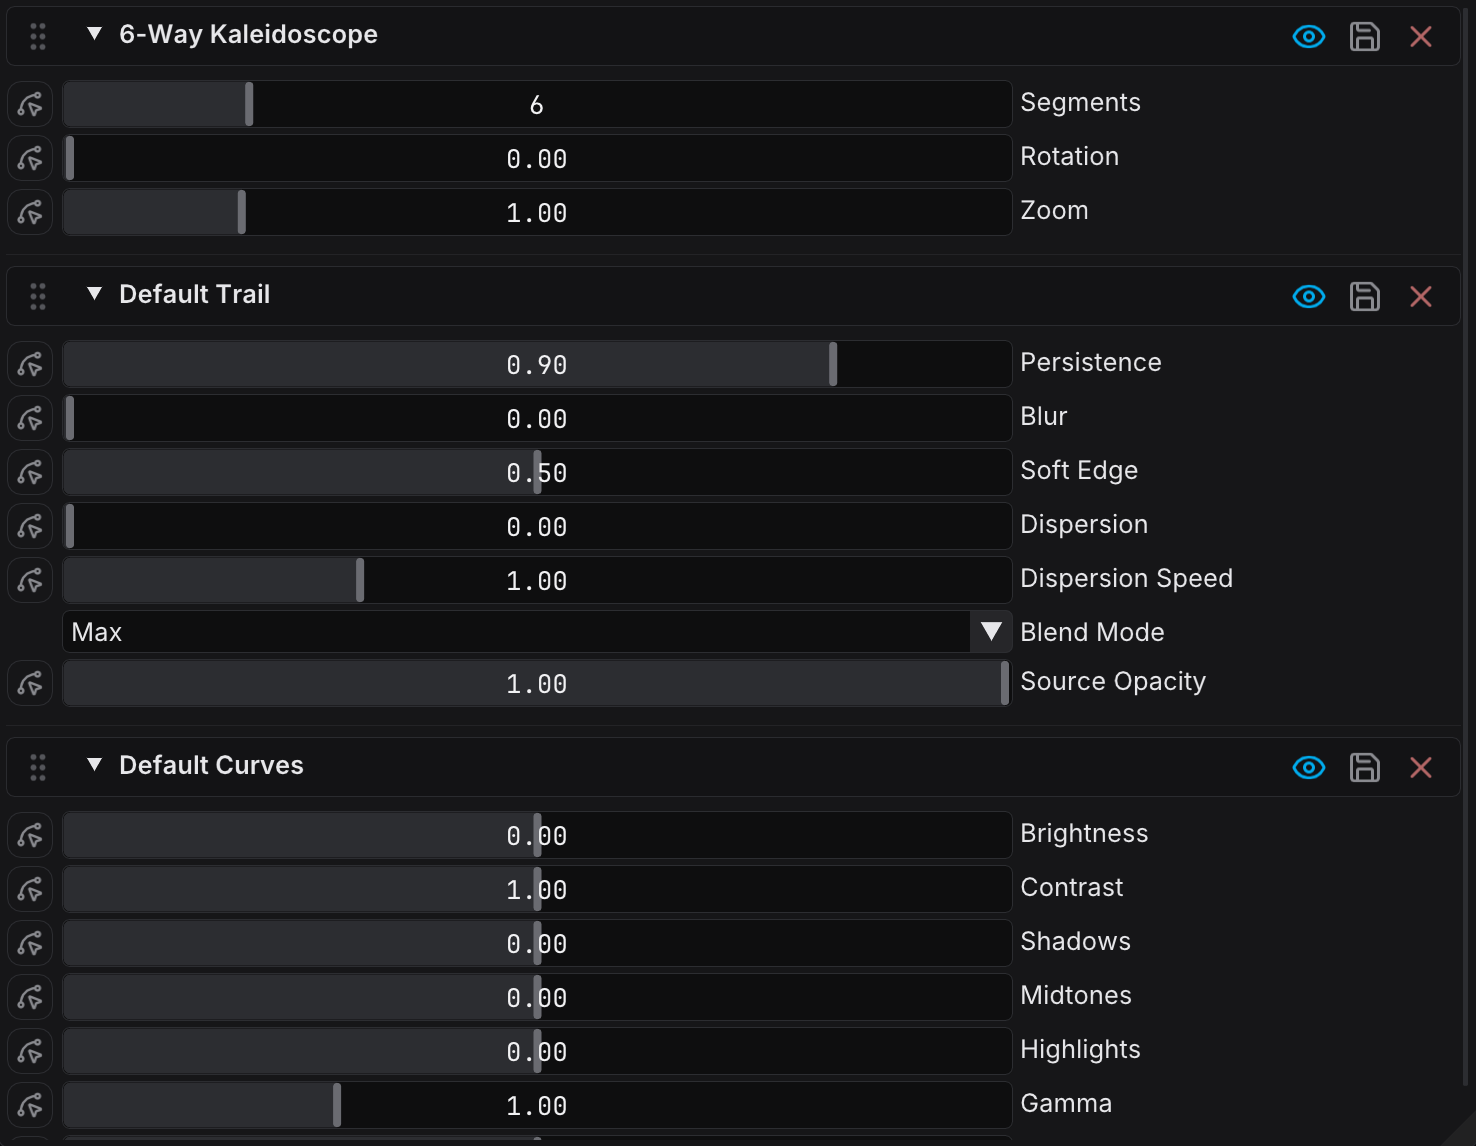
Adding Effects
To add an effect to your chain:
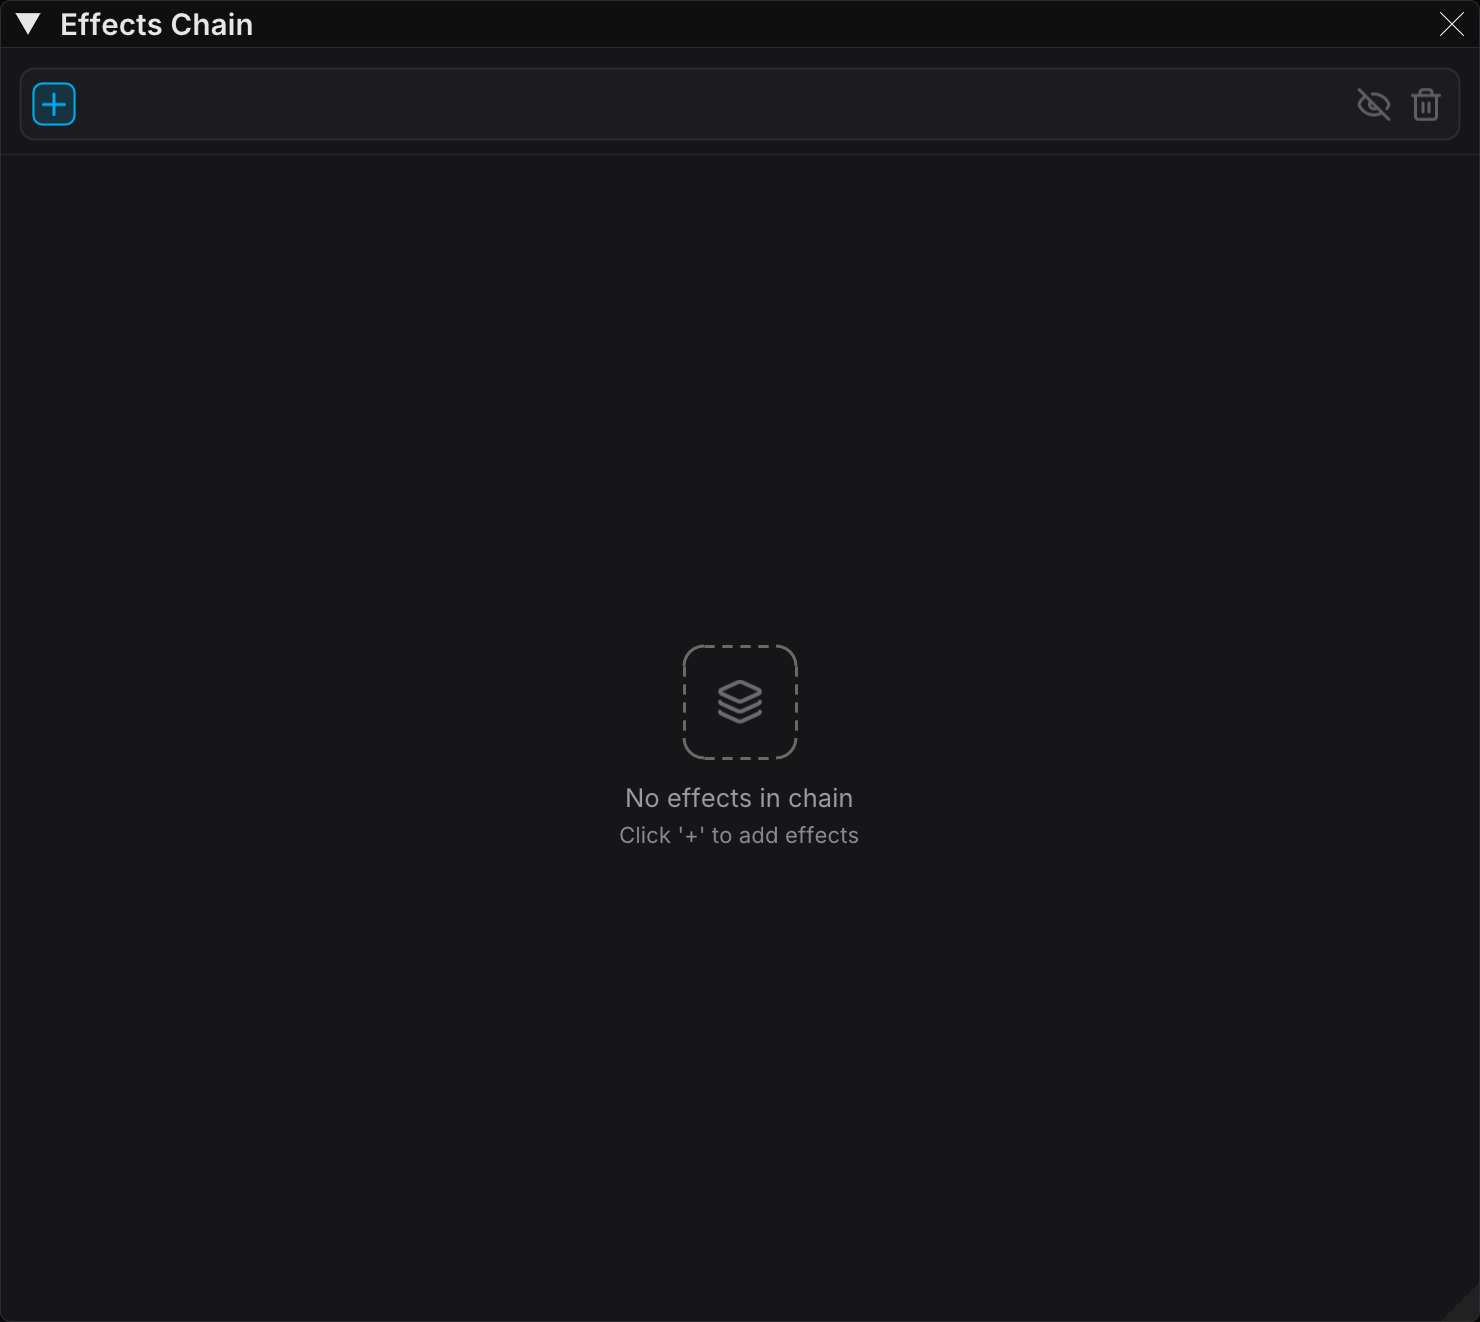
- Click the Add button (plus icon) in the action bar
- Select an effect type from the menu
- Select Default for the standard settings, or select a preset from the list
The new effect appears at the bottom of the chain.
Double-click a type header in the Effect Presets panel to add an effect with the default settings. An ISF effect type also leads its preset list with a Default row that you can double-click.
Without a license, the chain holds two effects. At that point the Add button turns gray, and a padlock appears beside it. If you open a show with more effects, FXCanvas keeps the extra effects but bypasses them. After you activate a license, the extra effects work again. See What requires a license.
Enabling and Disabling Effects
Each effect carries an eye button on the right of its row. Click it to bypass the effect. Click it again to enable the effect.
- Enabled — An open eye in accent. FXCanvas applies the effect during processing
- Bypassed — A closed eye in muted gray. FXCanvas skips the effect, and the list shows it dimmed
Disable an effect to compare the look with the effect and without it. The effect keeps its settings while it is disabled.
Bypassing the Whole Chain
The Bypass all button (crossed-eye icon) in the action bar mutes every effect at once. Use it to compare the finished look with the raw source during a show.
- Click the button to mute the chain. The button then carries an accent ring, and the output shows the source alone
- Click it again to restore the chain
Bypass all does not change the eye toggle of any effect. A bypassed effect stays bypassed, and an enabled effect returns exactly as it was.
Some effects build an image over several frames, for example Trail and the other feedback effects. When you restore the chain, these effects start their history again. The frames from before the bypass do not return.
Reordering Effects
The order of the effects is important, because each effect processes the output of the one before it.
To reorder the effects:
- Click and hold the drag handle, the grip of dots next to an effect
- Drag the effect to its new position
- Release to drop it
For example, Blur before Mirror gives a different result from Mirror before Blur.
Removing Effects
Click the Remove button (X icon) on any effect to delete it from the chain.
You cannot undo this action. If you want to keep your custom settings, save them as a preset first.
Clearing the Chain
The Clear all button (trash icon) in the action bar removes every effect at once.
- Click Clear all in the action bar
- Read the confirmation dialog
- Click Remove all to empty the chain, or Cancel to keep it
You cannot undo this action. The presets that you saved from those effects stay in your library.
Effect Parameters
Click the arrow on any effect section to open it and show its parameter controls.
Modified Indicator
When you change parameters from their saved values:
- The effect name is orange text with an asterisk (*) at the end
- The panel tab shows an orange overline for unsaved content
BPM Sync for Parameters
Effect parameters can sync to the beat, like source parameters:
- Click the modulation button in the gutter to the left of the parameter. Then select BPM in the popover
- A synced parameter moves between the two range handles in time with the beat
- Right-click a parameter to reset it to its default value instead
Use this to make effects that pulse or shift with the music.
Saving Effect Changes
The save button (floppy disk icon) opens a menu with these options:
| Option | Description |
|---|---|
| Save | This updates the current preset with your changes. It is available for user presets with changes only. |
| Save As... | This makes a new preset with a custom name. Use it to save a variation, or to make your own preset. |
| Revert to Saved | This discards your changes and restores the original preset values. |
FXCanvas cannot overwrite built-in presets. Use Save As to make your own version.
Available Effects
FXCanvas includes 20 built-in effects. For the full parameters and ranges, see the Effects Reference.
| Effect | Description |
|---|---|
| Blur | Gaussian blur for soft edges and glow |
| Cube | Wraps the image onto a 3D cube that rotates, with several projection modes |
| Curves | Color grading — brightness, contrast, shadows/midtones/highlights, gamma, saturation |
| Fisheye | Barrel and pincushion lens distortion |
| Grid Clone | A grid of tiled copies with an optional frame delay between cells |
| Halftone | Classic and RGB halftone dot patterns (mono, RGB, CMYK) |
| Hue Feedback | Psychedelic hue-based feedback displacement |
| Kaleidoscope | Radial mirror segments for mandala-like symmetry |
| Light Trace | Neon edge trace with radial light rays |
| Mask | Geometric shape masks (circle, star, heart, and more) |
| Mirror | Mirror horizontally, vertically, or both |
| Noise Generator | Animated procedural noise (Perlin, Worley, Voronoi, and more) |
| Pattern | Geometric patterns — stripes, grids, rings, dots |
| Recolor | Restates the source in the active palette, with several blend and ramp modes |
| RGB Trail | RGB-split trails with chromatic aberration |
| Sphere | Wraps the image onto a lit 3D sphere |
| Strobe | BPM-synced strobe (white, black, invert, or color) |
| Transform | Rotate, scale, zoom, skew, and animate |
| Trail | Motion trails with feedback persistence and optional dispersion |
| Wave | Animated wave distortion |
The sections below examine three common effects.
Blur
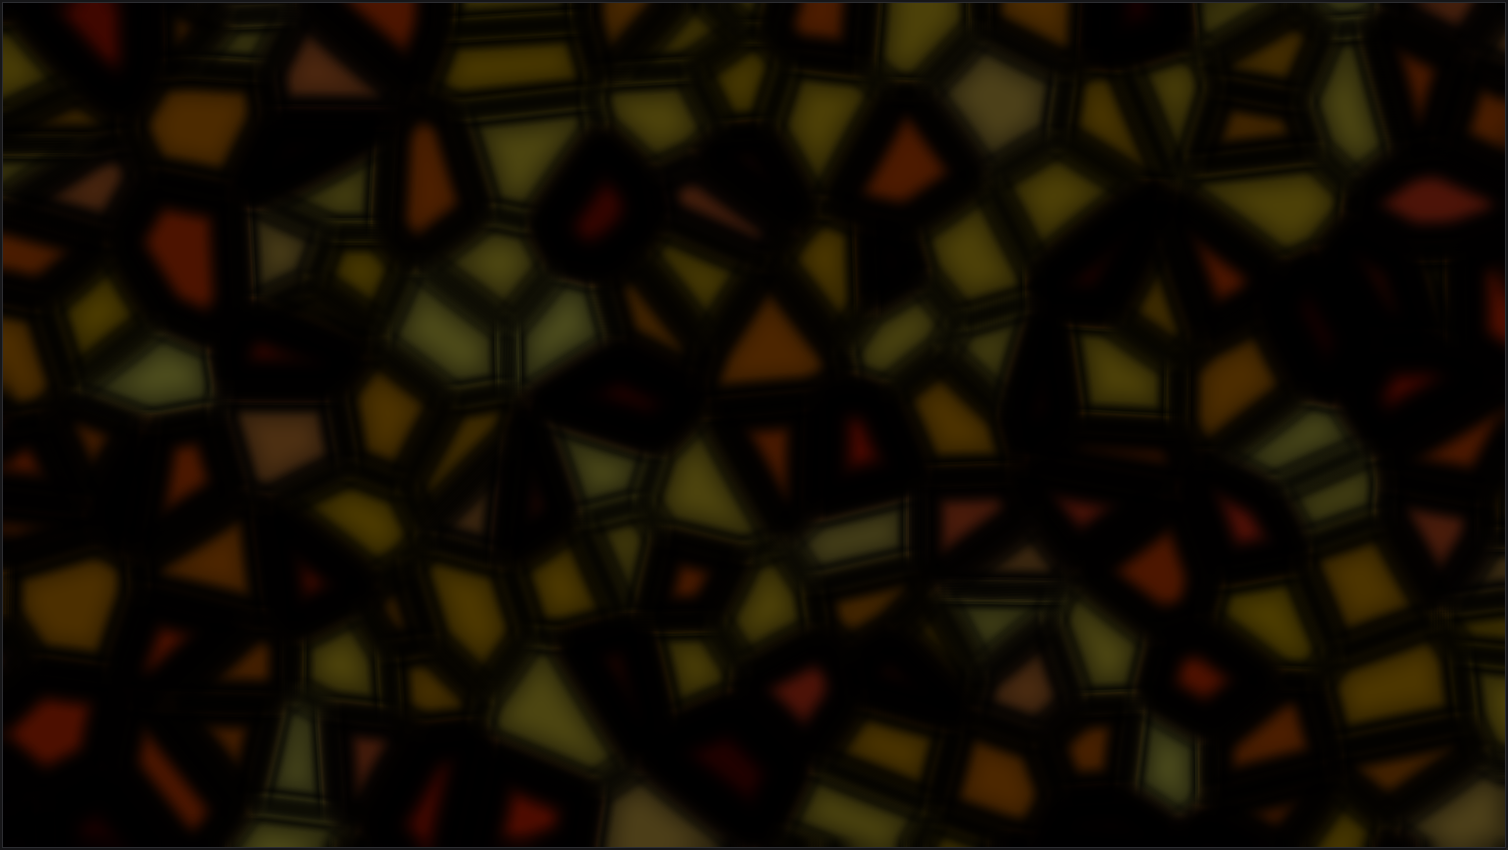
The Blur effect averages the nearby pixels and makes the image softer. The result is a smooth, diffused look. Use it to soften hard edges, to make a glow, or to give the visuals a dreamy quality.
| Parameter | Range | Default | Description |
|---|---|---|---|
| Radius | 0 – 50 | 5 | This sets the blur strength in pixels. Higher values give more diffusion. |
| Quality | 1 – 8 | 4 | The number of blur passes. Higher values give smoother results but use more GPU. |
Use a low radius (2-5) for a small amount of softness. A high radius with high quality gives a strong glow.
Mirror
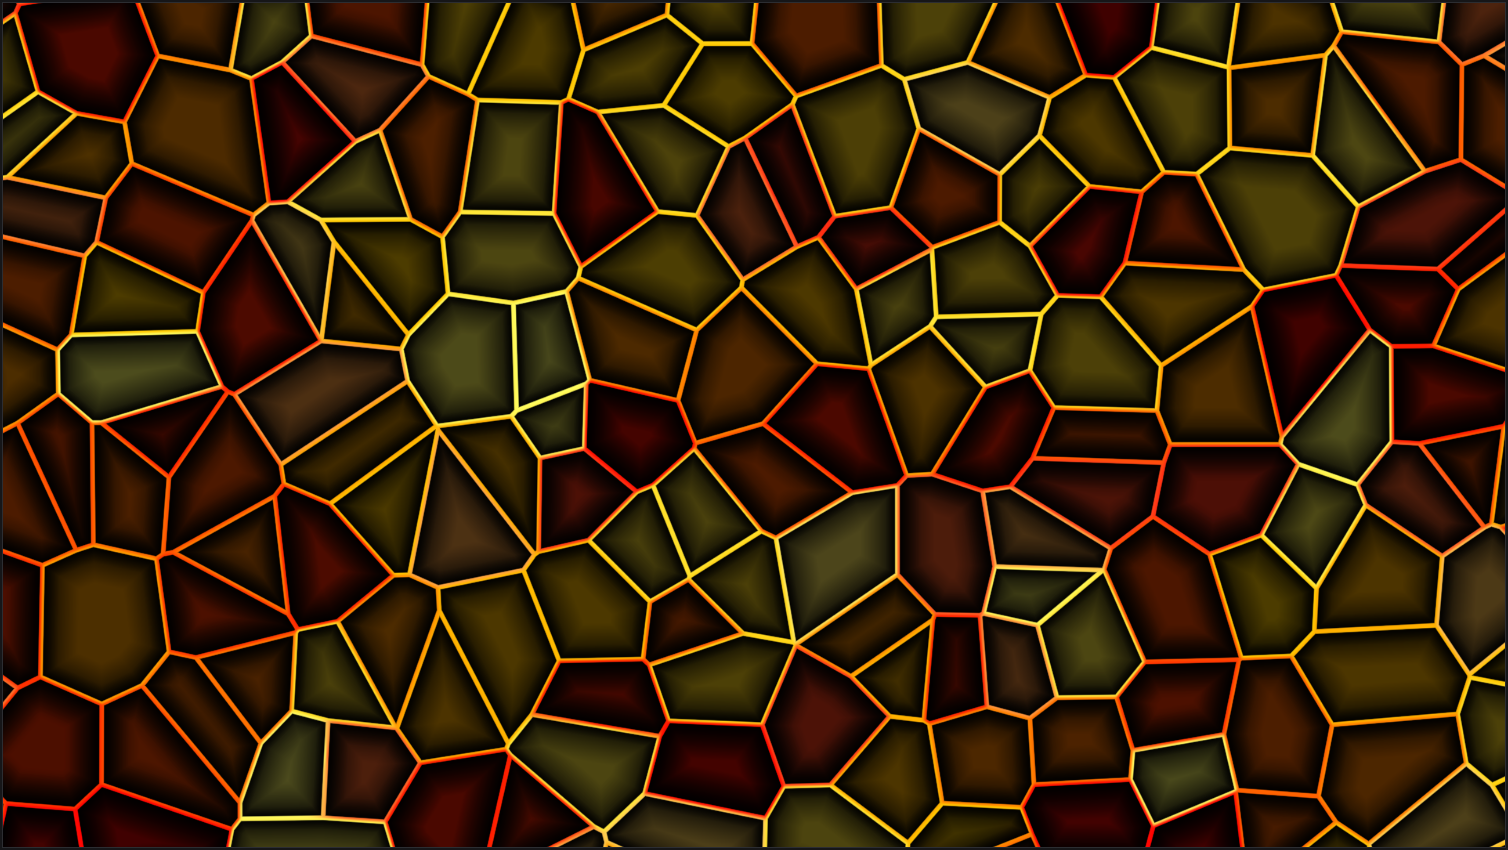
The Mirror effect reflects the image across the horizontal axis, the vertical axis, or both. It makes symmetrical patterns from asymmetric sources. The visual character can change a lot.
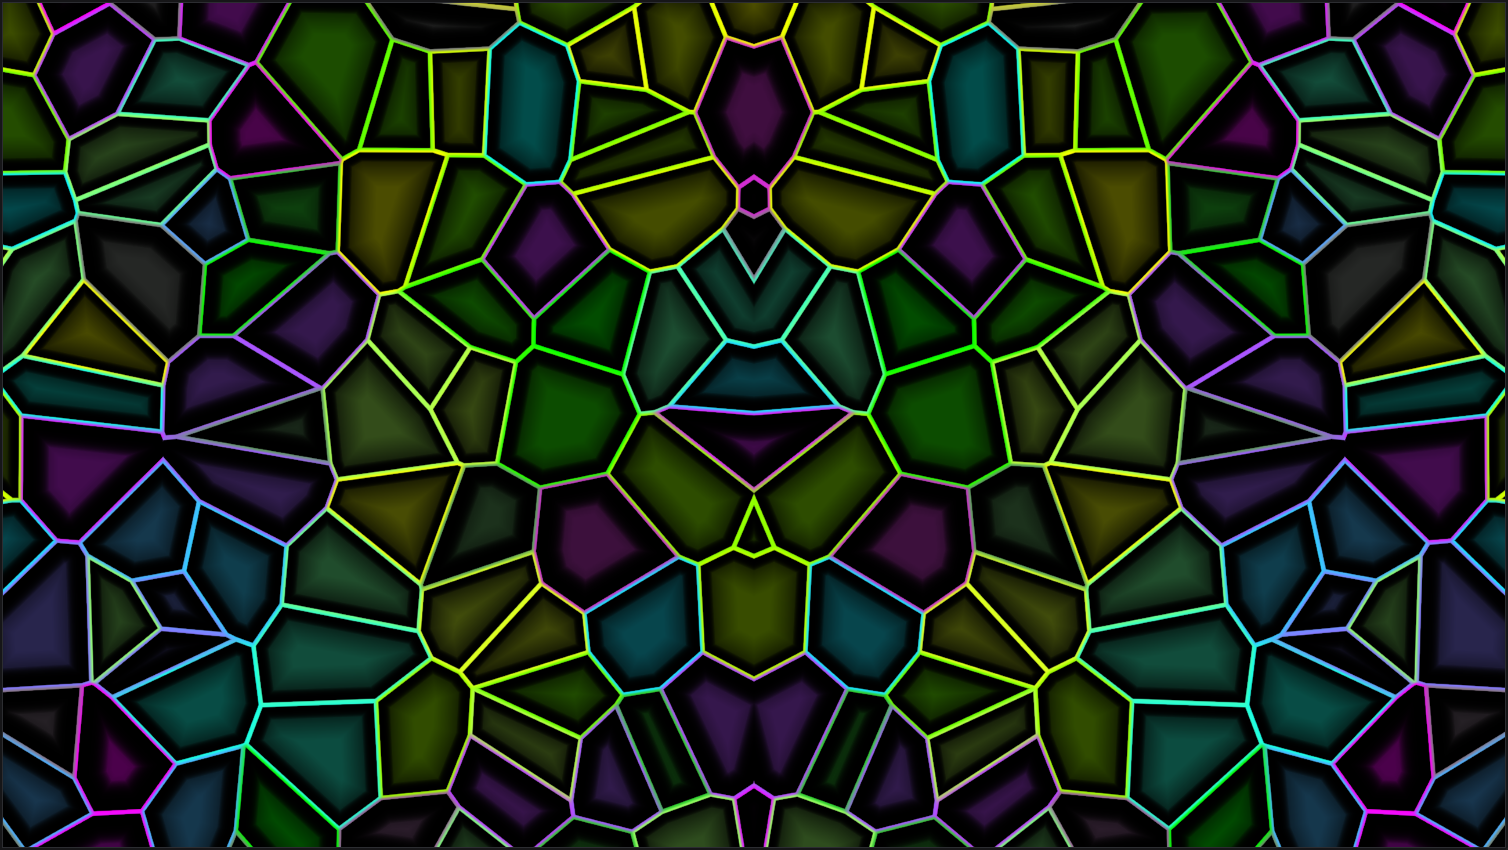
Voronoi is a good source when you learn Mirror. Its cells are irregular, so the reflected half is easy to see. Move Offset away from 0.5 to shift where the fold lands.
| Parameter | Options/Range | Default | Description |
|---|---|---|---|
| Axis | Horizontal, Vertical, Both | Horizontal | The axis to mirror across. |
| Offset | 0.0 – 1.0 | 0.5 | The position of the mirror line. 0.5 is the center. |
A horizontal mirror works well with sources that move vertically. The Both option gives four-way symmetry.
Kaleidoscope
The Kaleidoscope effect copies and rotates segments of the image around a center point. The result is radial symmetry. It turns any source into a mandala-like pattern.
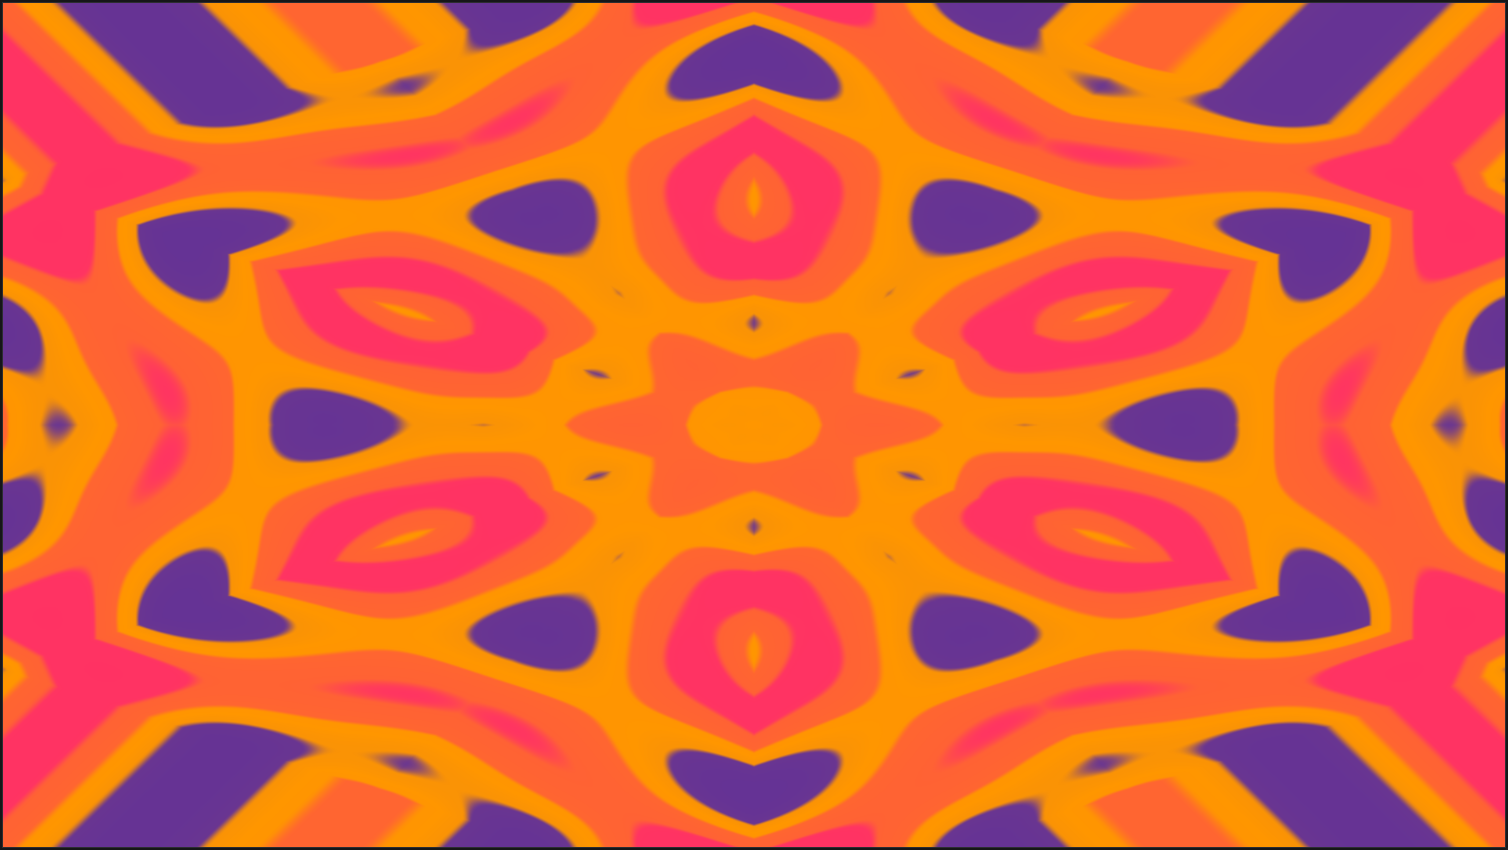
Kaleidoscope reads best on a source with large, soft shapes. Plasma at the default six segments turns a slow color drift into a repeated lattice.
| Parameter | Range | Default | Description |
|---|---|---|---|
| Segments | 2 – 24 | 6 | The number of mirror segments. |
| Rotation | 0 – 360 | 0 | This rotates the kaleidoscope pattern in degrees. |
| Zoom | 0.1 – 5.0 | 1.0 | This scales the input before the kaleidoscope processing. |
Even segment counts (4, 6, 8) give balanced symmetry. Animate the Rotation parameter with BPM sync for a kaleidoscope that spins.
Working with Effect Presets
Using the Effect Presets Panel
The Effect Presets panel is your library of the available effect presets. The panel groups the entries by type in a tree view.
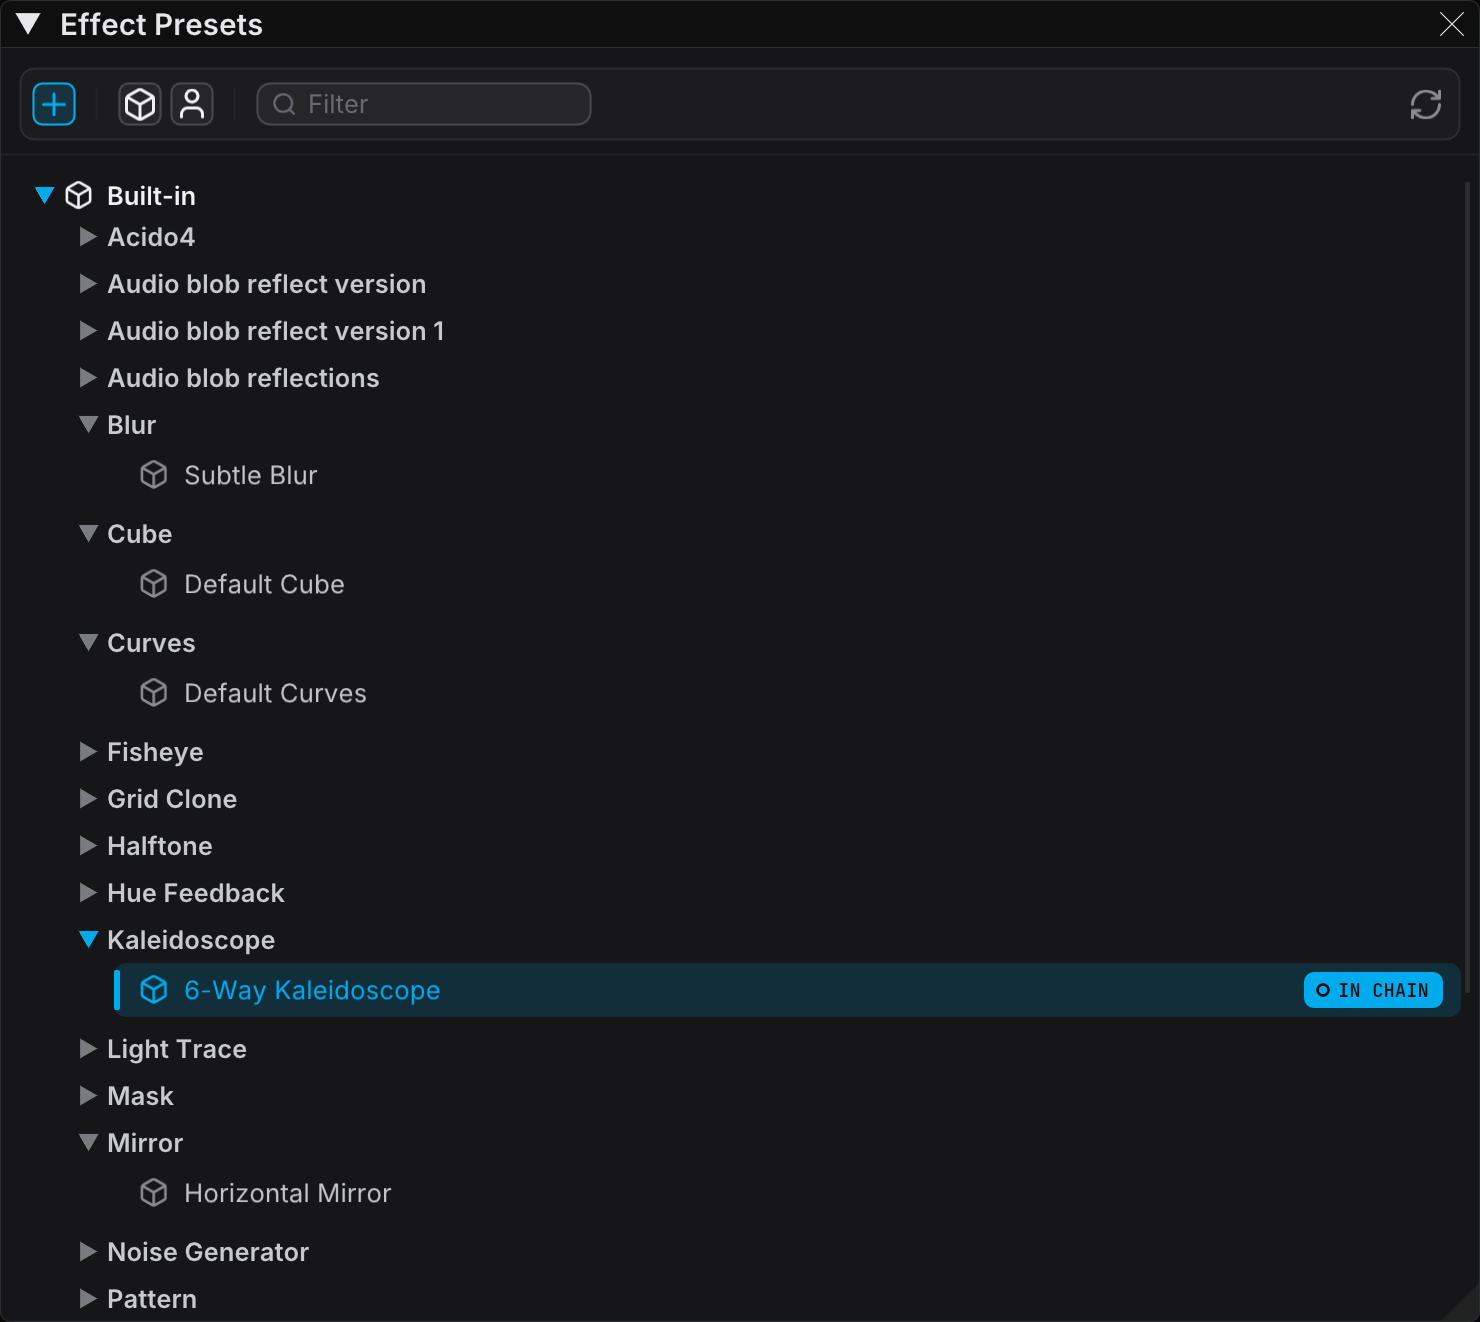
The Action Bar
The action bar at the top of the panel holds the panel controls in one row:
| Control | Description |
|---|---|
| Add (plus icon) | Opens the add menu, which holds Import ISF shader... |
| Scope toggles (cube, user) | Select which parts of the tree the panel shows |
| Filter field (magnifying glass icon) | Narrows the tree to the names that match your text |
| Refresh (rotate icon) | Loads the effect presets and the imported ISF effects again |
While the filter field holds text, the field carries an accent ring and a clear button. Click the clear button (X icon) inside the field to see the whole tree again.
Scope Toggles
Two toggle buttons in the action bar select which parts of the tree the panel shows:
| Icon | Scope | Shows |
|---|---|---|
| Cube | Built-In | Factory presets that ship with FXCanvas |
| User | My Presets | Custom presets that you made |
You can enable both scopes at a time. FXCanvas keeps the last enabled scope on, so the bar cannot empty the tree. The ISF Shaders folder has no scope toggle. It appears when you import at least one ISF effect.
Importing an ISF Effect Pro
The add button (plus icon) opens a menu with one row, Import ISF shader.... The row opens the same import dialog as File → Import ISF Shader..., and it accepts the same URLs. FXCanvas classifies each shader as a Source or an Effect and saves it in the correct folder. For the URL formats and the bulk import rules, read ISF Sources.
Without a license, the row is gray and carries a padlock. See What requires a license.
Saving Custom Presets
To save the current effect settings:
- Adjust the effect parameters until you like the look
- Click the save button (floppy disk icon) on the effect
- Select Save As...
- Enter a name for your preset
- Click Save
Your preset appears in the Effect Presets panel for later use.
Preset Storage
FXCanvas stores effect presets in two locations:
- Built-in presets — These ship with the application and are read-only
- User presets — FXCanvas stores these in your user profile, and they are available in all shows
Cues store a full snapshot of every effect and its parameters. A show therefore does not depend on the presets in your library to play correctly. To move a show to another machine with the presets that its cues came from, use File → Export Show....
Combining with Source Presets
Effects work independently from sources. You can:
- Load any source preset and apply any combination of effects
- Change the source and keep your effects chain
- Save different effect combinations to change looks quickly
You can therefore combine any source with any effect chain.
Tips and Best Practices
Effect Combinations
These effect combinations work well:
Blur + Mirror — This gives soft, symmetric patterns. Apply Blur first for a dreamy mirrored look.
Mirror + Kaleidoscope — This gives complex symmetry. Mirror doubles the pattern, and Kaleidoscope then multiplies it.
Subtle Blur + Any Effect — A light blur at the end of the chain smooths the hard edges from the other effects.
Processing Order
The effect order is important:
- The effects at the top of the chain process first
- Each effect works on the output of the one before it
- Try different orders to find new looks
For example:
- Blur then Kaleidoscope — The kaleidoscope pattern multiplies the soft edges
- Kaleidoscope then Blur — The blur softens the sharp kaleidoscope
Performance Considerations
Effects run on the GPU. These factors still change the load:
- Each enabled effect adds processing time
- Higher blur quality values and radius values need more GPU time
- Several stacked effects multiply the GPU load
If the show runs slowly:
- Reduce the number of active effects
- Lower the blur quality or the radius
- Disable the effects that you do not use
Creating Variation
Use these techniques for visual variety:
- BPM sync parameters — Rotation on Kaleidoscope, Offset on Mirror
- Chain variations — Save different effect chains as presets
- Quick toggles — Enable or disable effects for instant changes during a show
Related Topics
- Effects Reference — The full parameter reference for every effect type
- Sources — The visual generators that feed into effects
- Video Inputs — Live video sources that also run through the effects chain
- Video Playback — File-based video and images that run through the effects chain
- BPM Sync — Sync effect parameters to the beat
- Getting Started — An overview of the FXCanvas basics